
Installing CentOS 7 – A Graphical Tour for Linux Beginners
If you are new on the Linux platform, I am sure you feel overwhelmed with all the different versions available. Choosing one is not an easy task, and each version has its own pros and cons.
Let me tell you why I like CentOS:
- It is very stable
- It has well tested features
- There is a big community around it
- It has many large software repositories
- It is Part of the RedHat / Fedora family
Installing CentOS
Installing a new operating system may seem challenging, but CentOS has always made this task a simple one.
The first thing to do is to download it from the CentOS website.
Once downloaded, burn the DVD images onto a couple blank disks. Insert disk number 1 on your computer and use it to boot it.
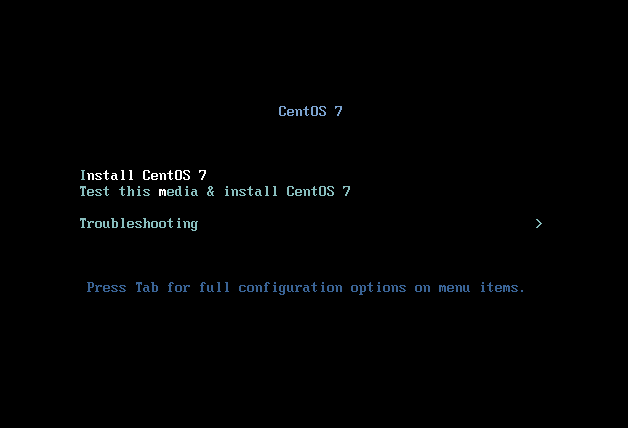
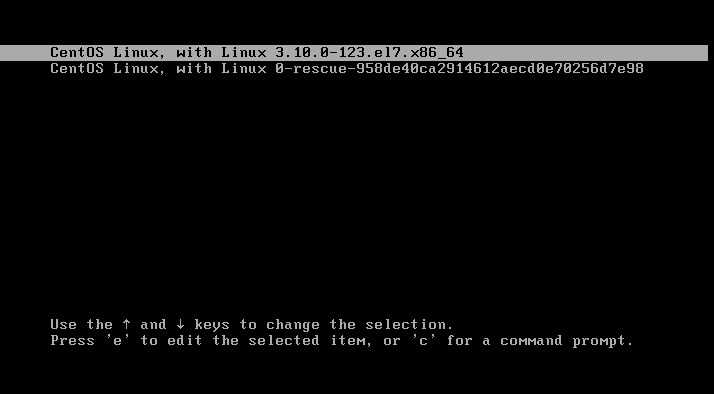
The first screen will present some options. Select Install CentOS 7 using your keyboard’s up and down arrows and press the Enter key:
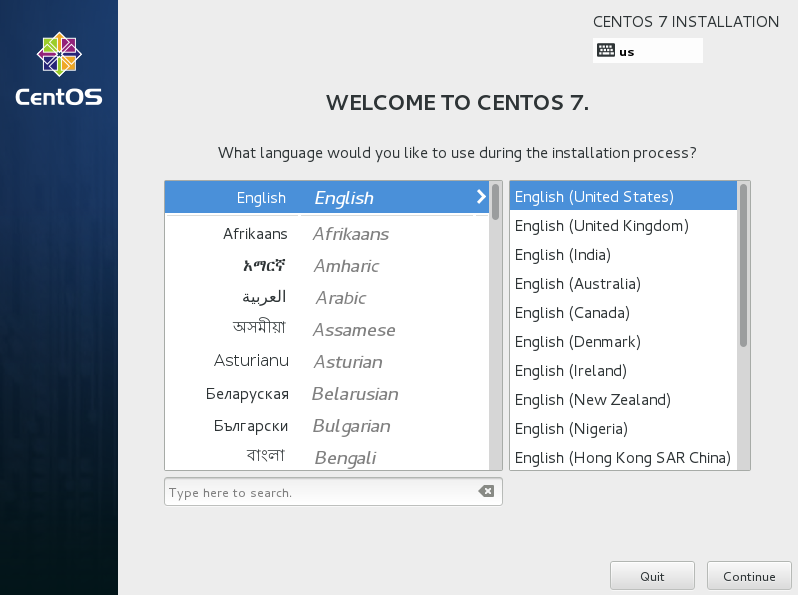
The next screen will show you options to configure your keyboard. Choose the appropriate option and click Continue.
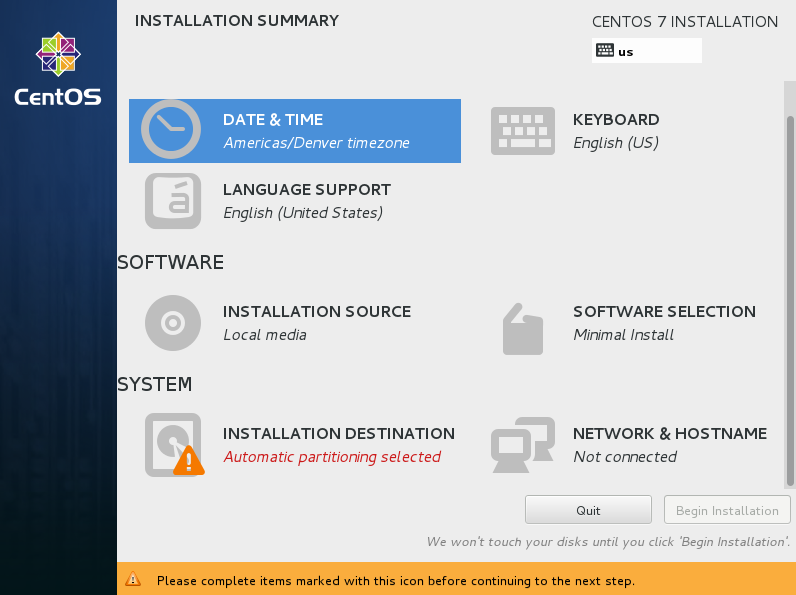
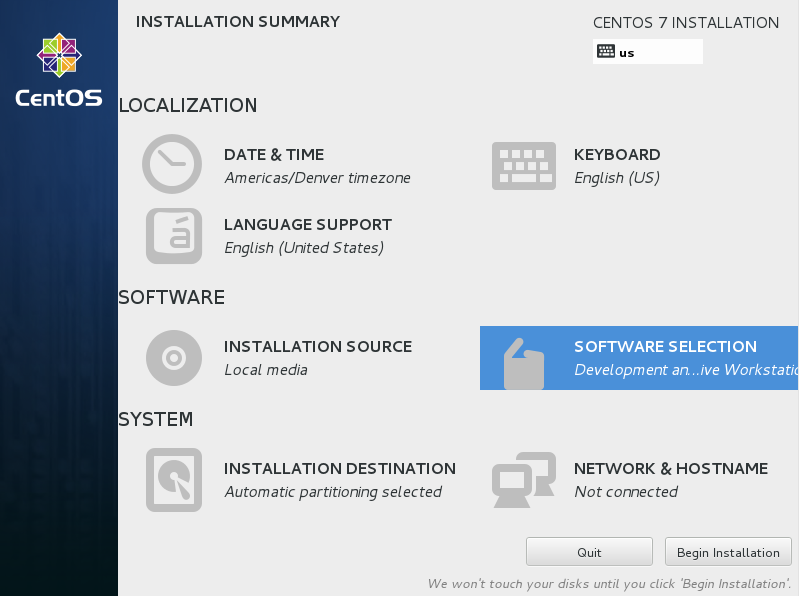
The following screen is an important one. It shows different icons that allows you to configure your new operating system. We’ll click on some of them.
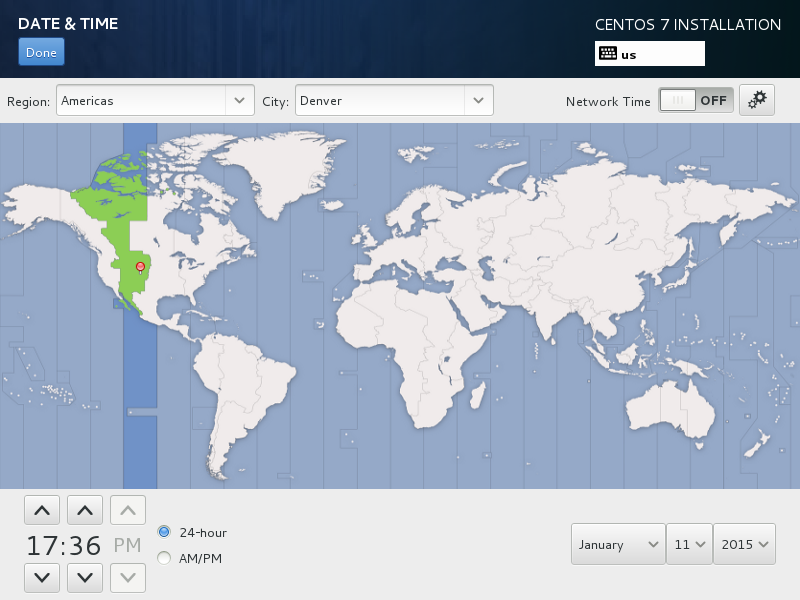
Click on Date & Time:
Select your time zone and click Done at the top left corner when ready.
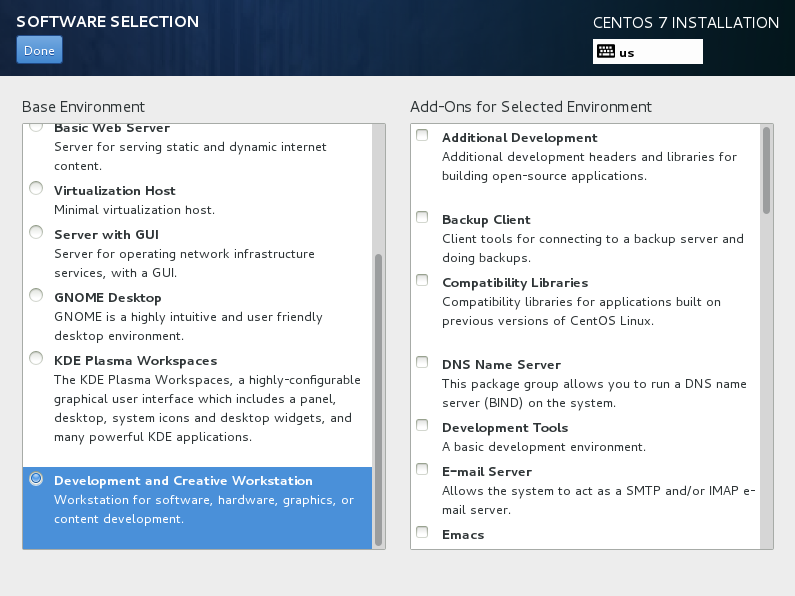
Now click on Software Selection:
On the next screen, look for Development and Creative Workstation and select it. Click Done at the top left corner when ready.
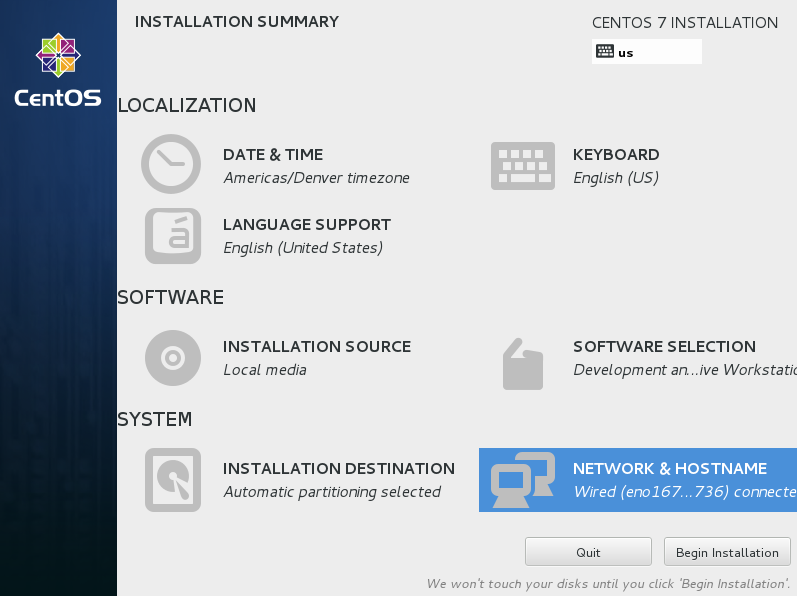
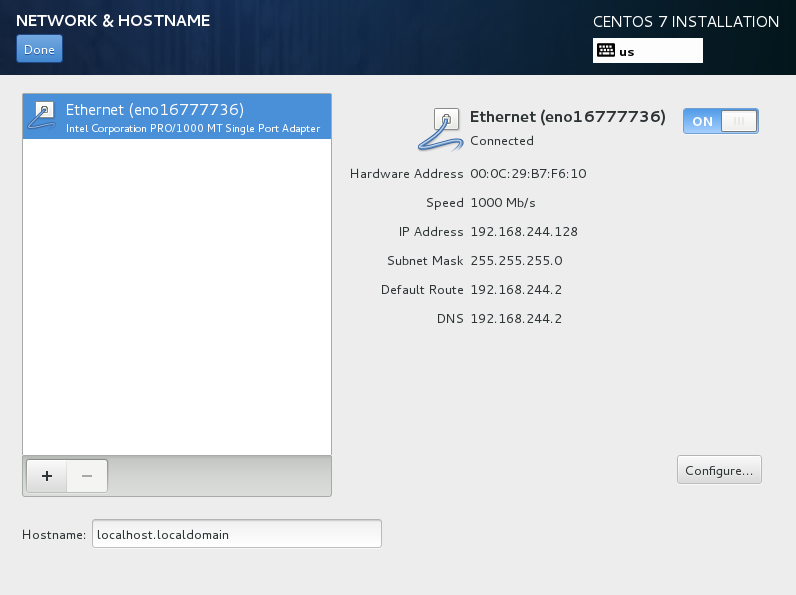
Now click on the Network and Hostname option:
Make sure to turn on the Ethernet switch on the right. This will automatically turn your network on whenever you start your computer. The numbers for Hardware Address, IP Address and so on will vary on your computer.
Click Done at the top left corner when ready.
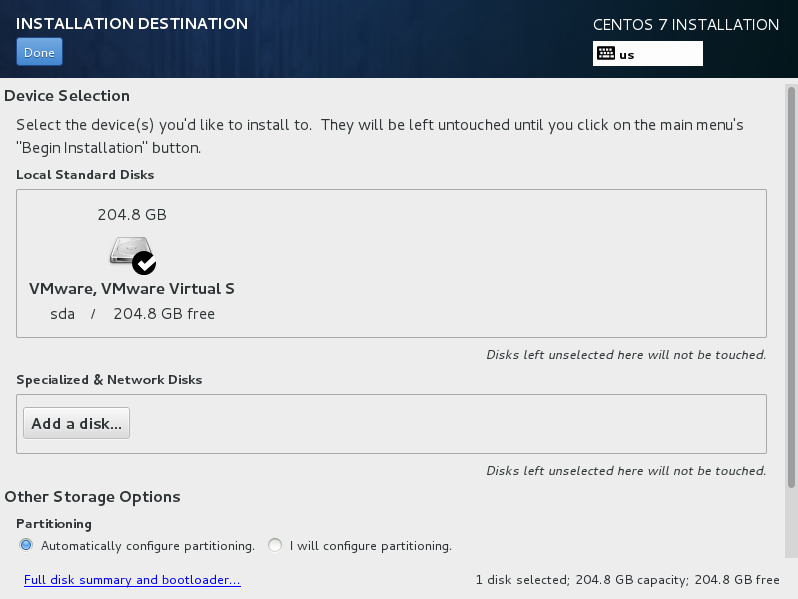
Finally click on Installation Destination option. I recommend you to leave everything the way it is in here.
Click Done at the top left corner when ready.
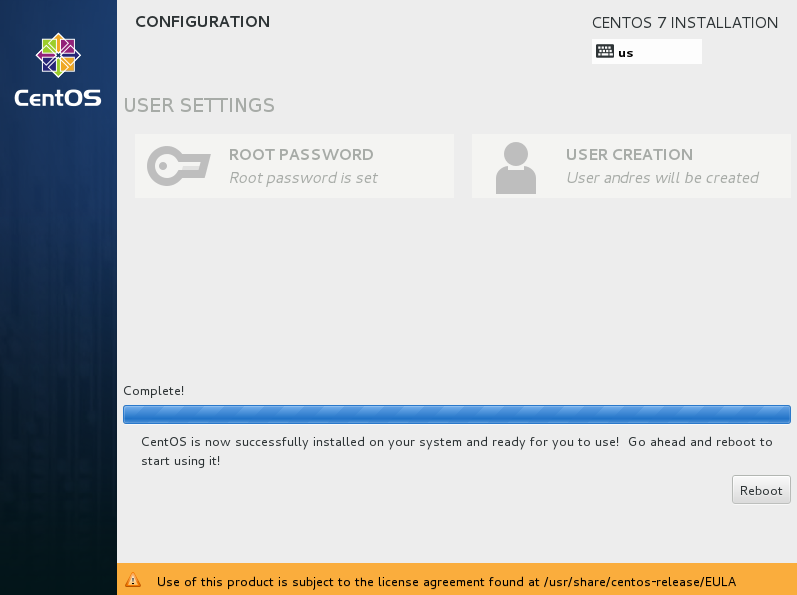
You’re now ready to begin the installation. So go ahead and click on “Begin Installation”. A screen like the next one will appear:
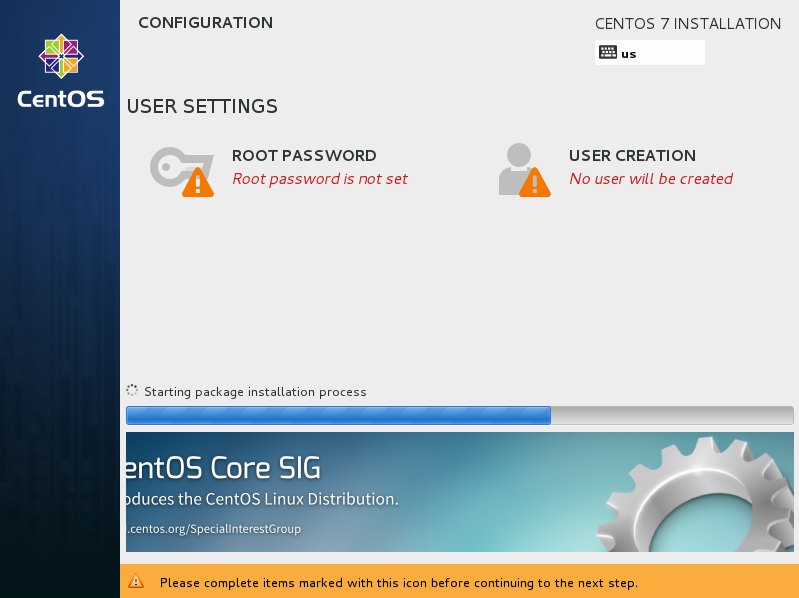
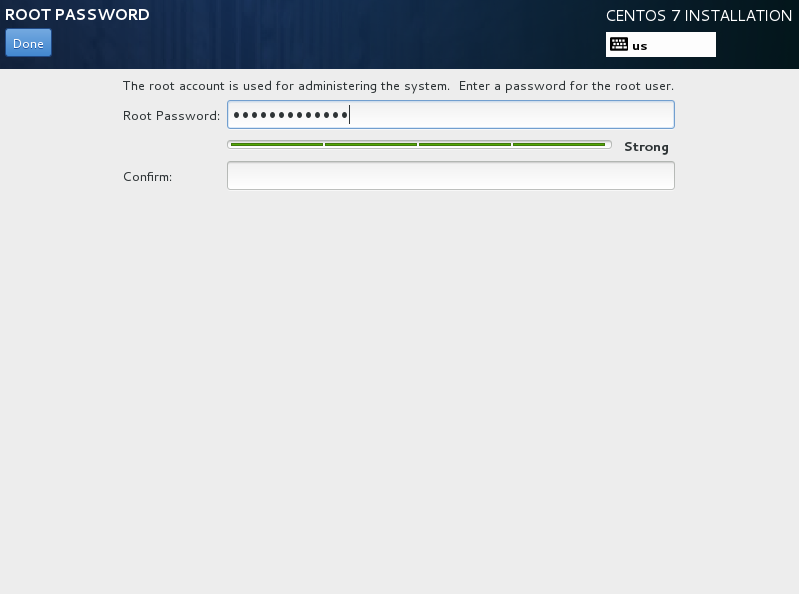
While the process runs, click on Root Password to set a password for the administrative user. Click Done at the top left corner when ready.
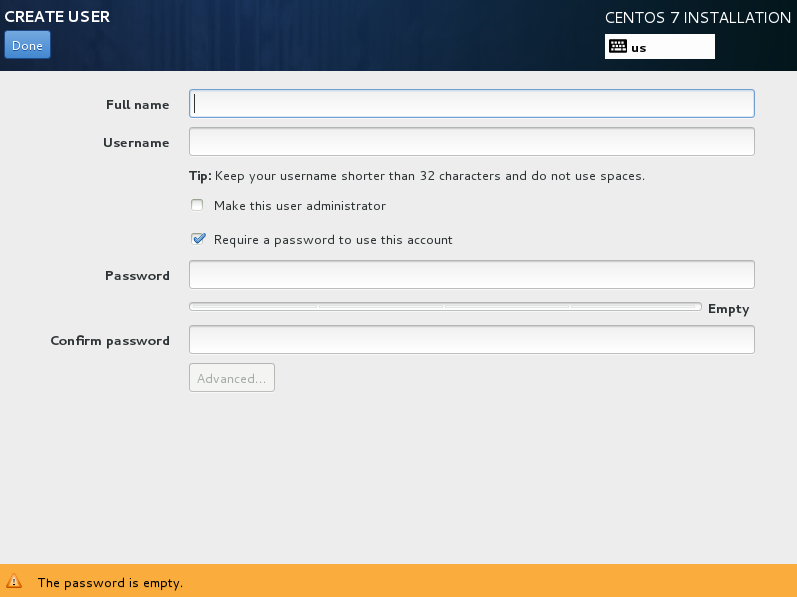
Now click on User Creation. It is important to create an additional user to keep your healthy. Go ahead and type the information. Don’t forget your username and password since you will use them to log into the system. Click Done at the top left corner when ready.
When the installation process ends it will ask you to reboot. Click on the Reboot button.
Once the computer is back on, you will see a screen like the following. Just hit the Enter key to begin.
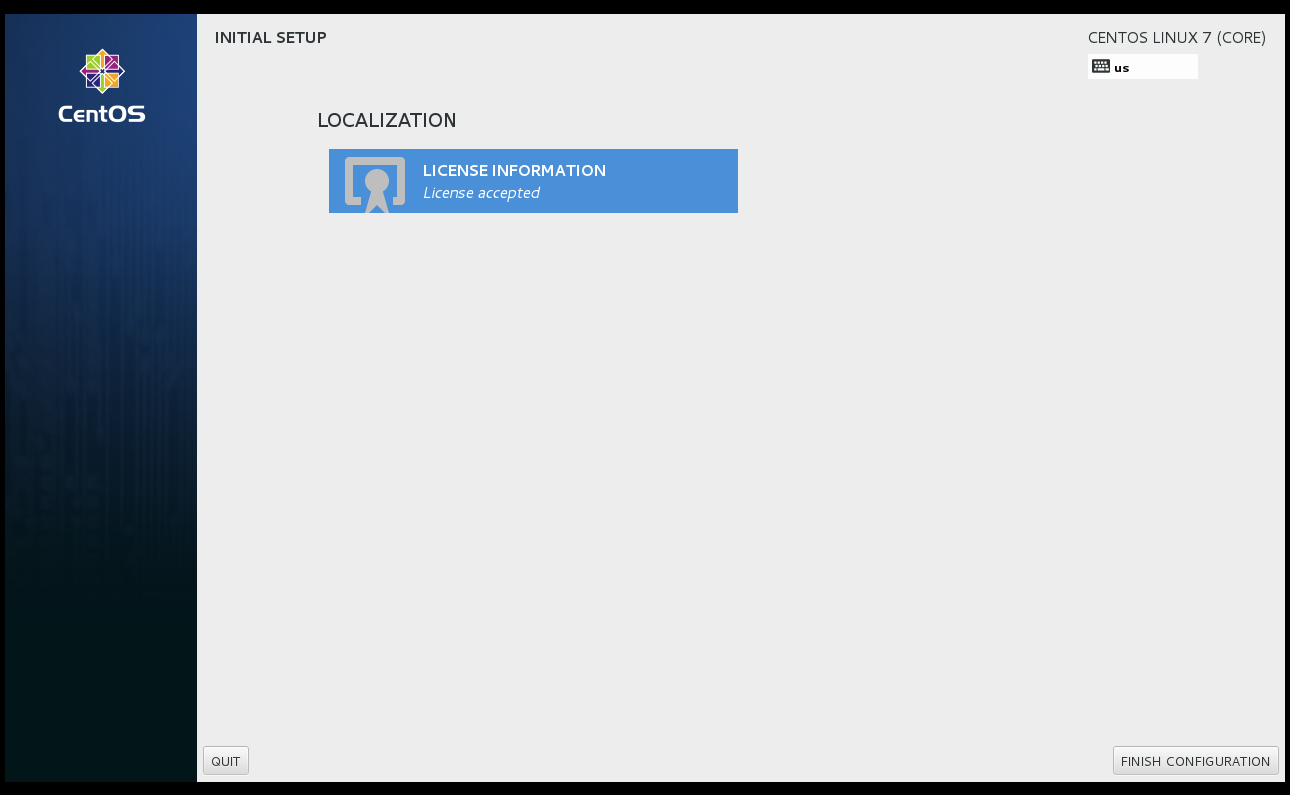
An Initial Setup will ask you a couple questions. Go ahead and click on License Information:
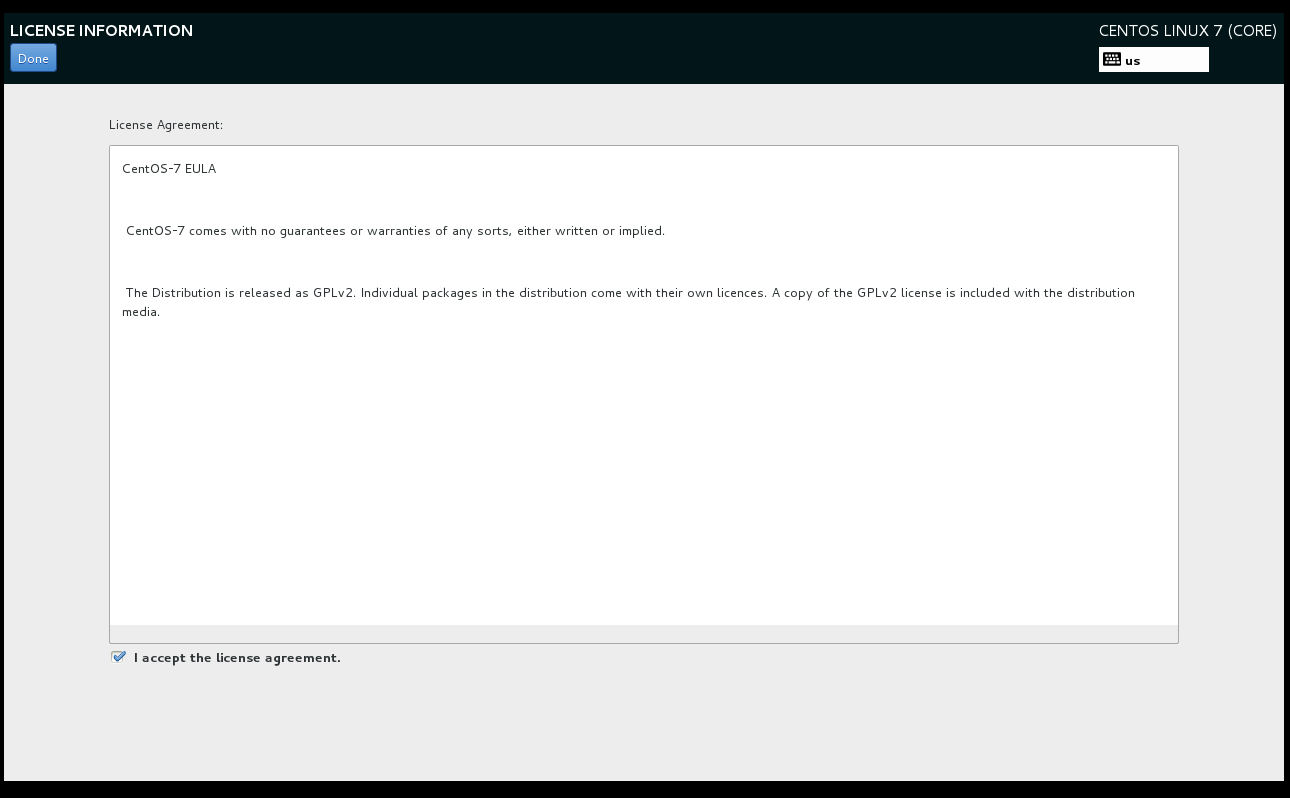
Review the License Agreement and mark the I accept the license agreement checkbox. Click Done at the top left corner when ready.
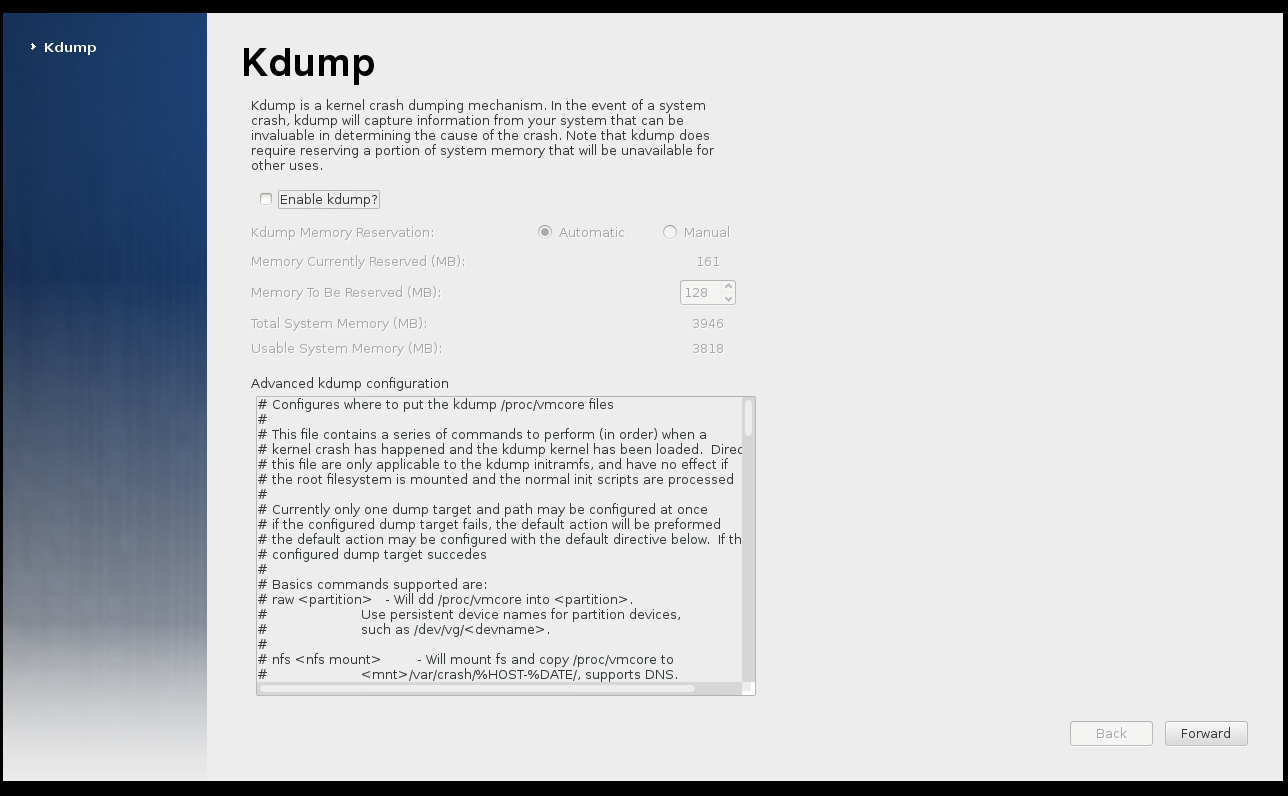
Next step is Kdump. Kdump is a kernel crash dumping mechanism. It helps developers know what went wrong in case your computer crashes. I usually disable it, but you can keep it enabled if you want to help developers find new problems with the system.
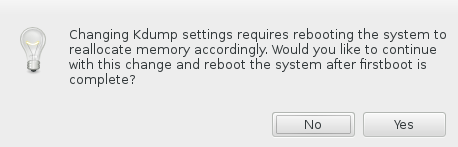
Since I disabled it, the following window comes up. Just click on Yes to reboot your system.
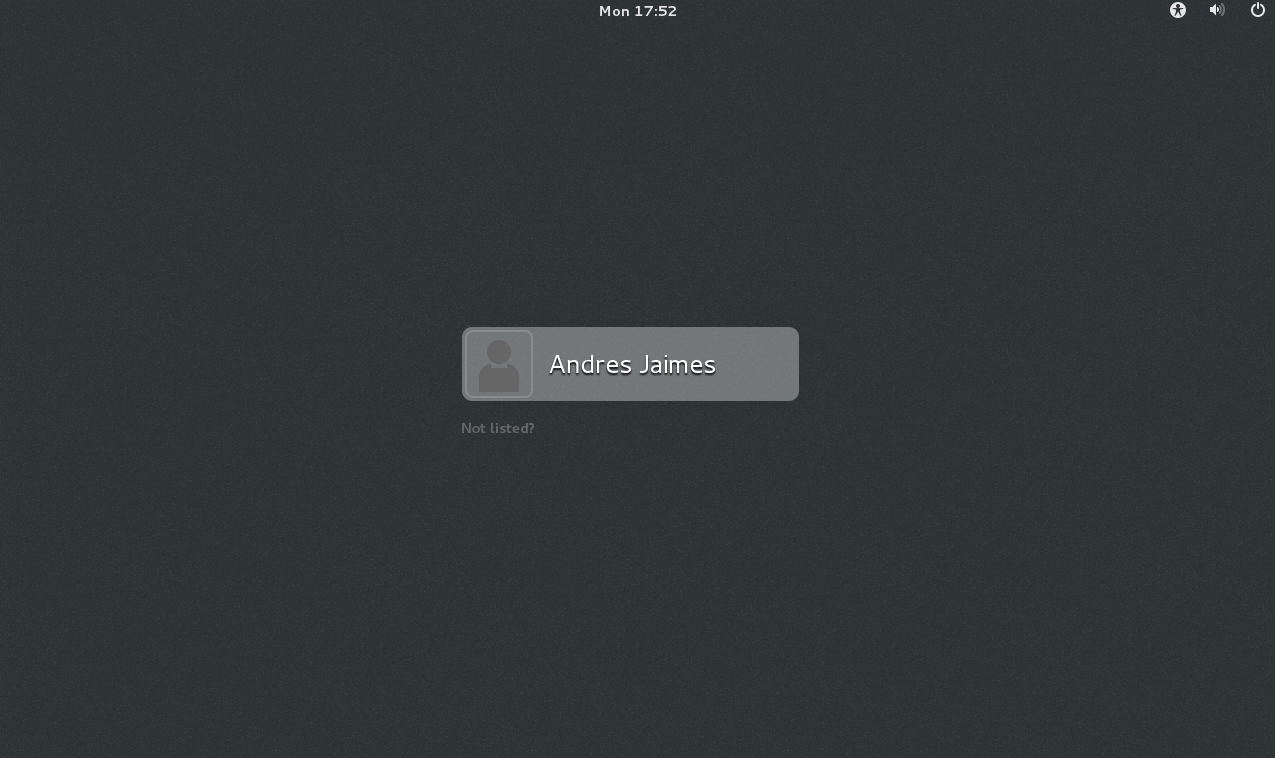
That’s it! Your CentOS system is ready to rock. Click on your name to log into the system:
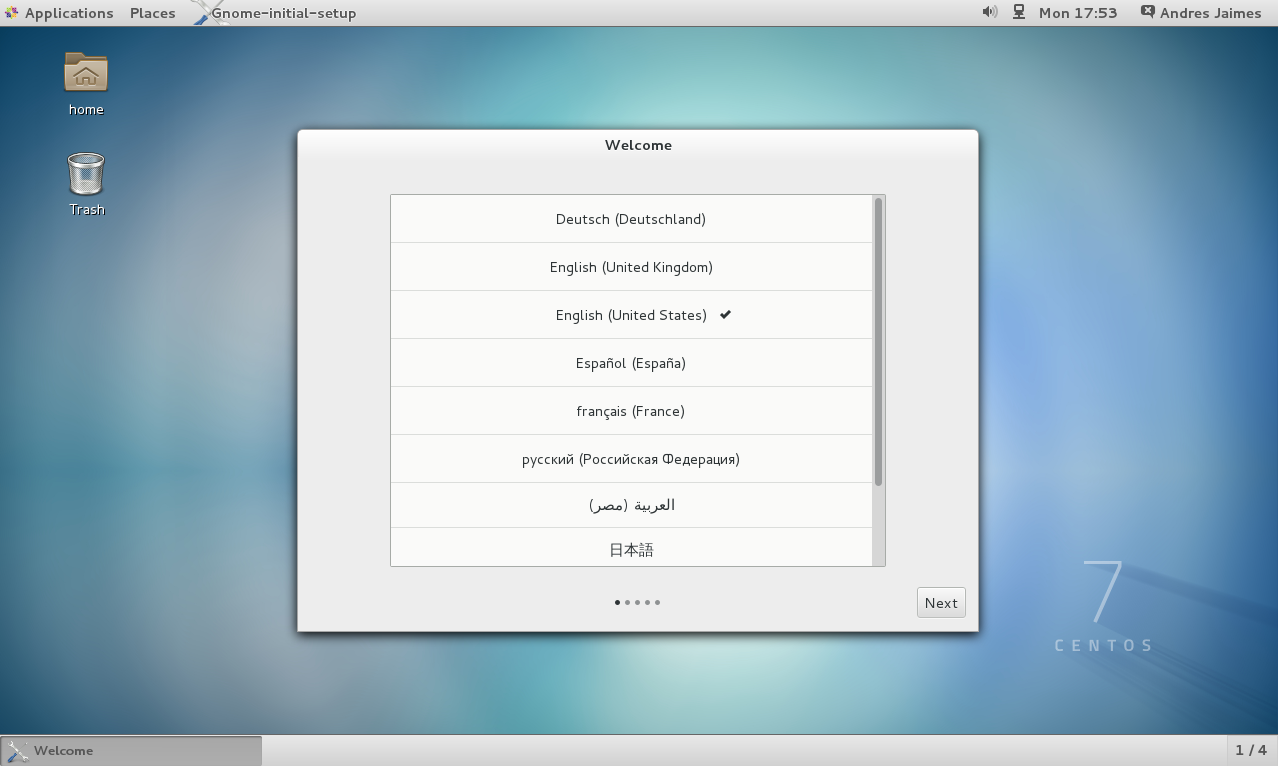
First time you login, you will be prompted to select a language. Go ahead and choose your best option.
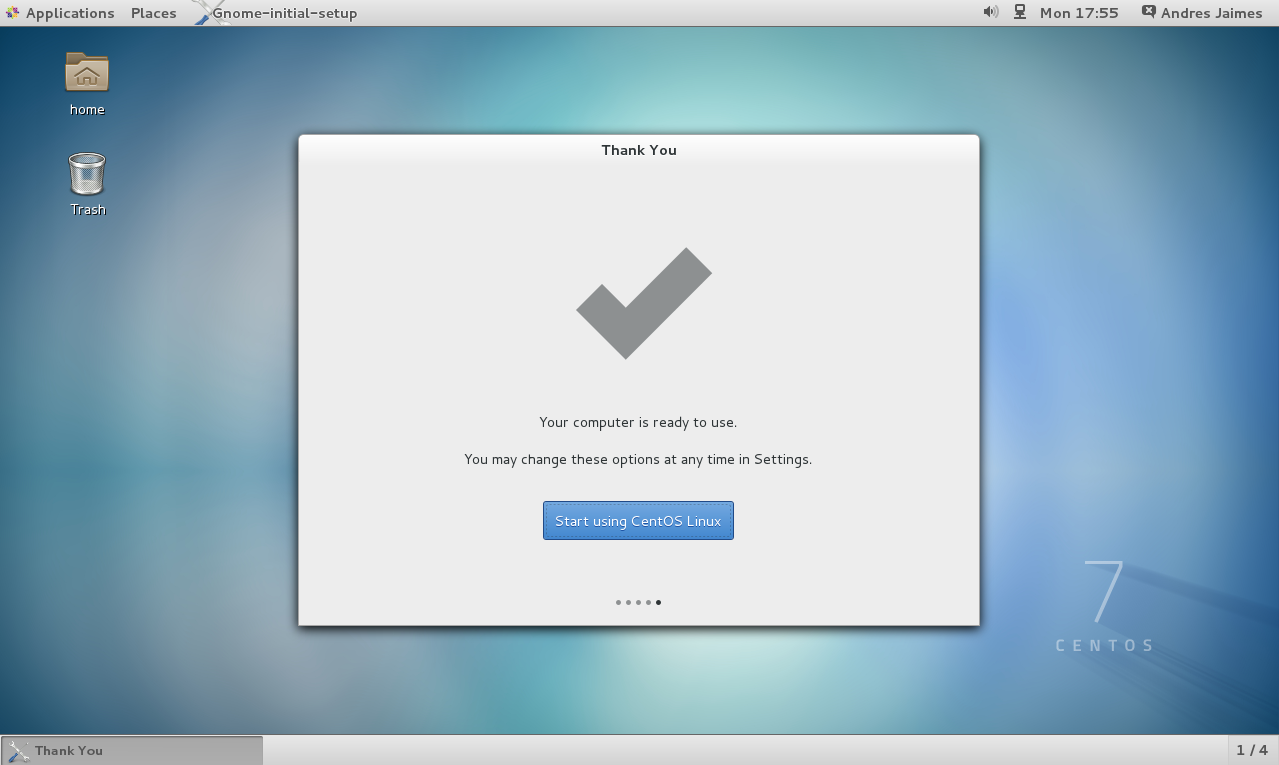
You will see a big check mark telling you everything went fine.
Click on the Applications menu and start exploring! You will find a many preinstalled applications grouped by categories.

Take a look at the folder named home on your desktop. That is the place where you will put your files.

Conclusion
CentOS is a terrific system that provides a well tested Linux platform; this translates into a solid and pleasant experience to all its users. Don’t be afraid to click here and there, open and close applications and check everything this distribution has to offer.
Enjoy your new system 🙂