Installing Oracle XE on Ubuntu
My first encounter with Oracle was back in 2001. It was installed on a Windows 2k test server. We worked in a one year long project and I had enough time to learn about it. I just remember having encountered feelings. SQL was very pleasant: the CASE keyword was not part of my daily queries so I found it extremely useful to do rows to columns conversions. Text functions helped us implement all our crazy ideas for a search engine. And migration to production (a Solaris server) was completely painless. On the other side, it was a resource hog: running Oracle was the only thing test server could execute at a time and getting a working TNS configuration was a hard task. After that, I never considered again Oracle for my personal projects, because of its high price and hardware requirements. Until now.
What is Oracle XE?
Oracle XE or Oracle Express Edition is the newer and lighter version of the powerful database. It’s free to download and use but has some minor restrictions:
- Supports up to 4Gb of user data – Most databases I know are a lot smaller.
- It only uses one processor – In case you have a multiprocessor computer.
- You cannot run more than one instance on any computer.
- It uses up to 1Gb of RAM even if you have more.
One of the best things about XE is its smaller memory footprint. Really. You can easily run it on your computer and you won’t notice it is there. So, last week I surfed to Oracle’s web site, read about it and decided to give it a try.To install it:
- Go to the Oracle XE site and download it. You will need a free Oracle account.
- When finish downloading, double click the debian installation package.
- Click the Install Package button.
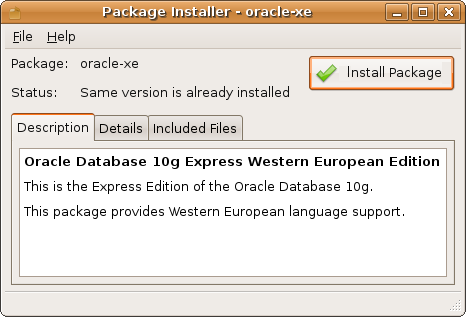
- When finished, open a Terminal window to configure it, and type sudo /etc/init.d/oracle-xe configure as shown below:
1$ sudo /etc/init.d/oracle-xe configure
2Oracle Database 10g Express Edition Configuration
3-------------------------------------------------
4This will configure on-boot properties of Oracle Database 10g Express
5Edition.  The following questions will determine whether the database should
6be starting upon system boot, the ports it will use, and the passwords that
7will be used for database accounts.  Press  to accept the defaults.
8Ctrl-C will abort.
I changed the default port to 9090:
Specify the HTTP port that will be used for Oracle Application Express [8080]:9090
Specify a port that will be used for the database listener [1521]:
Specify a password to be used for database accounts.  Note that the same
password will be used for SYS and SYSTEM.  Oracle recommends the use of
different passwords for each database account.  This can be done after
initial configuration:
Confirm the password:
I don’t want to start it on boot:
Do you want Oracle Database 10g Express Edition to be started on boot (y/n) [y]:n
Starting Oracle Net Listener...Done
Configuring Database...Done
Starting Oracle Database 10g Express Edition Instance...Done
Installation Completed Successfully.
To access the Database Home Page go to "http://127.0.0.1:9090/apex"
After this you should have a running Oracle instance. Now let’s connect to it.
- Go to the Applications menu and select Oracle Database 10g Express Edition > Go to Database Home Page.
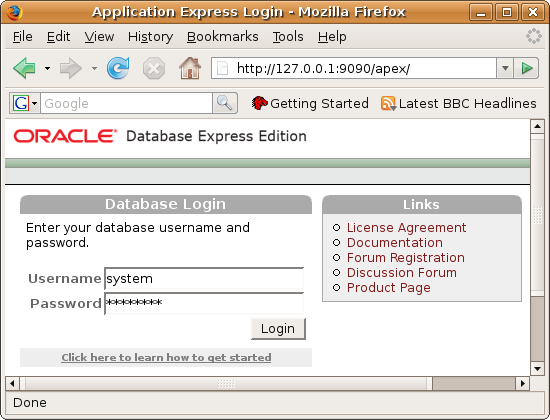
- Type system for username and the password you typed during configuration.
Now let’s enable the HR user, which will let us play with the demo database.
- Click the Administration arrow and select Database Users > Manage Users.
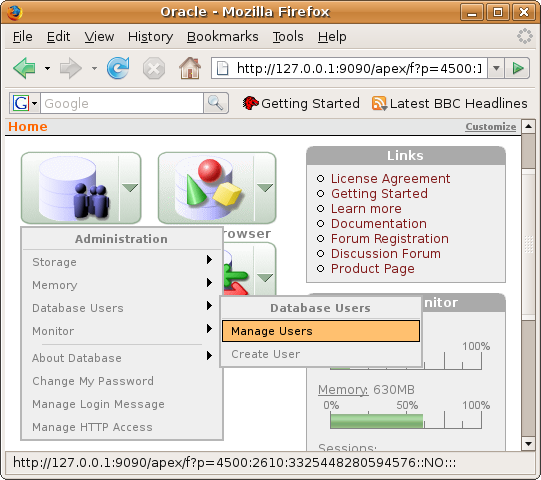
- Click on the HR user.
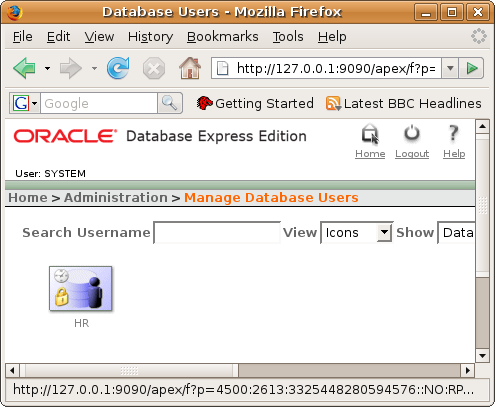
- Type a password for the user. Also, in Account Status, select Unlocked. Press Alter User to finish.
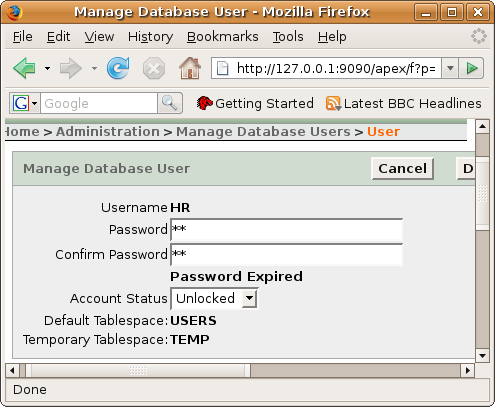
You can now play with it.
Adding your user to the DBA group.
You want to do this because if you don’t some options in the Applications > Oracle Database 10g Express Edition menu will not work.
- Go to the System menu and select Administration > Users and Groups.
- Click the Manage Groups button.

- Select the dba group and click Properties.
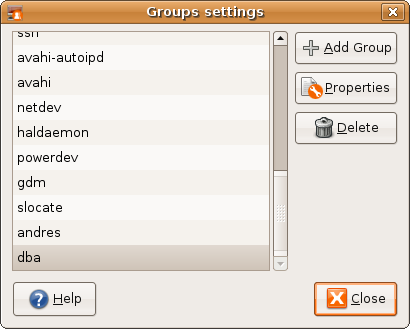
- Finally, select your user name and click Ok.
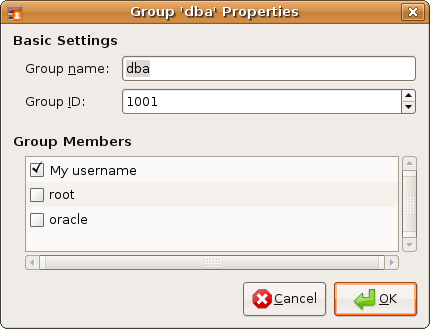
Now you should be able to start and stop the database from the Applications menu.
Starting Manually
During configuration you were asked if you wanted to start the Oracle Database at boot. If you chose No, then you can manually start it from a terminal like this:
1/etc/init.d/oracle-xe enable
2/etc/init.d/oracle-xe start
Running SQLPlus from a Terminal
If you want to run SQLPlus from a Terminal you must first setup the following environment variables:
1$ ORACLE_HOME=/usr/lib/oracle/xe/app/oracle/product/10.2.0/server
2$ export ORACLE_HOME
3$ ORACLE_SID=XE
4$ export ORACLE_SID
5$ PATH=$ORACLE_HOME/bin:$PATH
6$ export PATH
7$ LD_LIBRARY_PATH=$ORACLE_HOME/lib
8$ export LD_LIBRARY_PATH
You can make this changes permanent by saving them into your ~/.bashrc file.
Work in Progress:
Talk about how to create users and what schemes are
Talk about jdeveloper and sqldeveloper
What to do if you rename your computer
Few changes are necessary once you change your computer’s name:
- Modify your /etc/hosts file. You must write your new computer’s name in this file. If you don’t Oracle will simply refuse to start and will show this error:
Common ErrorsORA-01034: ORACLE not available
ORA-27101: shared memory realm does not exist
Linux Error: 2: No such file or directory
- Modify $ORACLE_HOME/network/admin/listener.ora and tnsnames.ora. If you don’t Oracle will not accept incoming connections from other computers.
