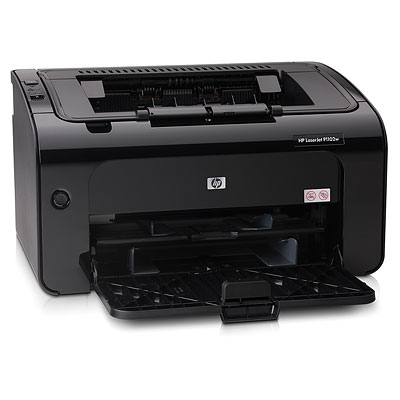
How I made my HP LaserJet P1102w work with my iPad

I got an HP LaserJet P1102w about a year ago, so long before I thought I was going to get an Apple’s iOS device. I purchased it just because I thought it would be useful to have a printer that could work wirelessly.
At that time I made it work using wireless, but for some reason it stopped working. I didn’t care because it was very simple to connect it via USB to my computer and get my stuff done.
However, this time’s story was different. I really wanted it to work wirelessly to be able to print from an iPad. And after so many hours I made it work. The main problem was that the printer could not get an IP address when WEP was enabled.
In few steps: I disabled WEP on my router, connected my printer using DHCP, assigned it a static IP and then enabled WEP again.
So, here is what I did:
Important: The following instructions assume you have some technical knowledge. There are many terms and actions that you must be familiar with.
- First, remove all your printer’s drivers and disconnect it from your computer. You can get detailed instructions on this page.
- Restart your computer.
- Connect to your router’s administrative page and temporarly disable WEP or any other authentication.
- On Windows: connect the printer to your computer. A new drive will show up on Windows Explorer. Double click the SISetup.exe file located in the new drive to start the installation.
On Mac: Download the latest printer drivers from HP.com. Start the installation from the downloaded files. - When the installation program asks you to select a method to connect to your printer choose via WiFi Network. You can do this even if your computer is connected via Ethernet to your router.
- When you are prompted to select a method for detecting your WiFi network select Automatic.
- Select your router from the list. Since you disabled WEP before, the installation program will not ask you for a password.
- Unplug your USB cable when asked for.
- After some minutes, your printer installation will finish. At this point your printer should be connected to your router.
- Get your printer’s IP address. You can do it by pressing for about 5 seconds the X button on it.
Now, to set your router’s security on again:
- Open a web browser and go to your printer’s IP address.
- Go to Network Connections and set your IP address as Manual IP. I strongly recommend you to leave the DHCP assigned IP address as the new static one; this way you will not loose connectivity when you apply the changes.
- Now, still on your printer’s web page, click on Wireless. On security mode select WEP, then select Hexadecimal and under WEP Key 1 type what your new WEP key will be.
- Apply the changes. At this moment you will loose connectivity to your printer because it will try to connect to your router using WEP.
- Go back to your router’s administrative web page and turn WEP authentication on again. Assign the aforementioned WEP key.
- Apply the changes.
- Turn your printer off and on and connectivity must be recovered.
- You are now ready to connect to it using any iOS device.
Final suggestions
- Update your printer’s firmware. You can download the latest version from HP.com.
- Instruct your router not to reassign the IP address your printer uses.
